Inspired by Tomek Rękawek’s post on writing a GameBoy emulator (https://blog.rekawek.eu/2017/02/09/coffee-gb/), I decided it sounded like a fun project. After some digging, I realised that as a precursor, it would be better to get my feet wet by writing a CHIP-8 emulator. I also decided this would be a good excuse to learn some Swift. Digging around, I found Cowgod’s technical reference, which describes how to implement it.
The code can be found on Github in repo [1].
Why Swift?
Ordinarily (given a free choice), I would write my code in Scala. However, Scala is not a good choice for this project. As a JVM language, it lacks unsigned numeric types, which are integral to the design of CHIP-8. Furthermore, my recollection of the native JDK graphics libraries was that they were not great, and using a higher level library felt like it would be a cheat.
It was also a good excuse to learn a new language with a non-trivial project.
Getting Started
Having created a new XCode project, I decided a good first step would be to implement the drawing code, so that there was something I could see.
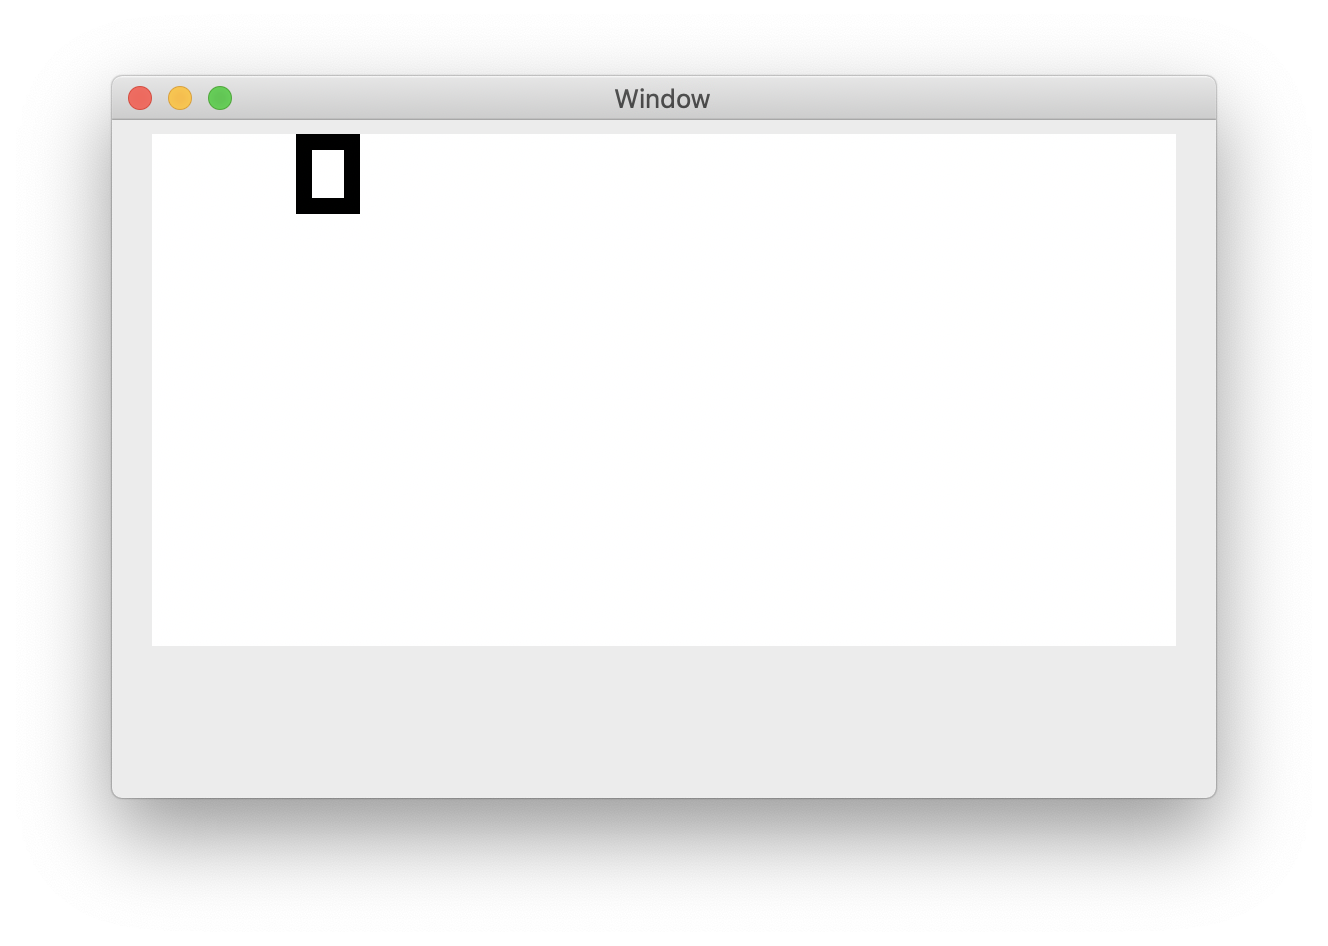
CHIP-8 has a monochrome 64×32 pixel display. Rendering is performed by drawing a sprite, which is represented as up to 5 bytes. Each byte represents a row of 8 pixels, which each bit corresponding to one of two colours. Sprites are XORd with the existing display to produce an updated image. If drawing would overflow the screen, it wraps around (this is not quite true, as we shall see below).
The screen can be represented as a 2-dimensional array with dimensions 64×32. I then created a custom view in Swift by subclassing NSView, which would draw a square for each pixel. A true would correspond to a black pixel while a false would correspond to white. As a test, I hardcoded a simple Sprite and set it to display.
CHIP-8 has a number of built in sprites, corresponding to the 16 hex digits. As a next test, I rendered all of these sprites and made sure some of them wrapped around.
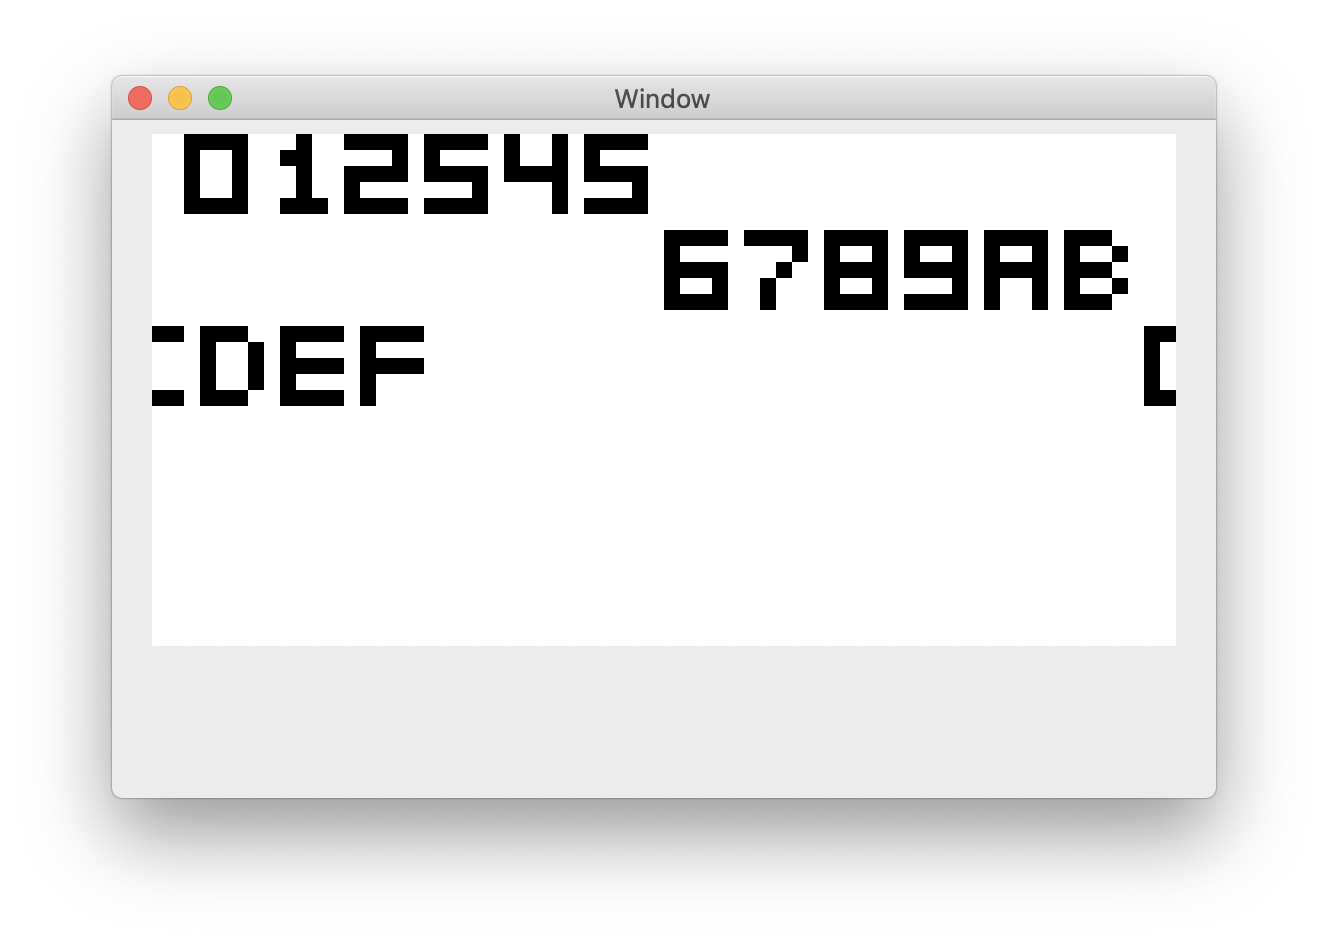
There’s a mistake here which was corrected later on.
Implementing sound
CHIP-8 is only capable of playing a single tone. I elected to cheat a bit here, and generate a 440Hz wav file, suitable for looping. The AVAudioPlayer class can then load and loop this file straightforwardly. A more complex project would require audio generation code, but I can skip all that here.
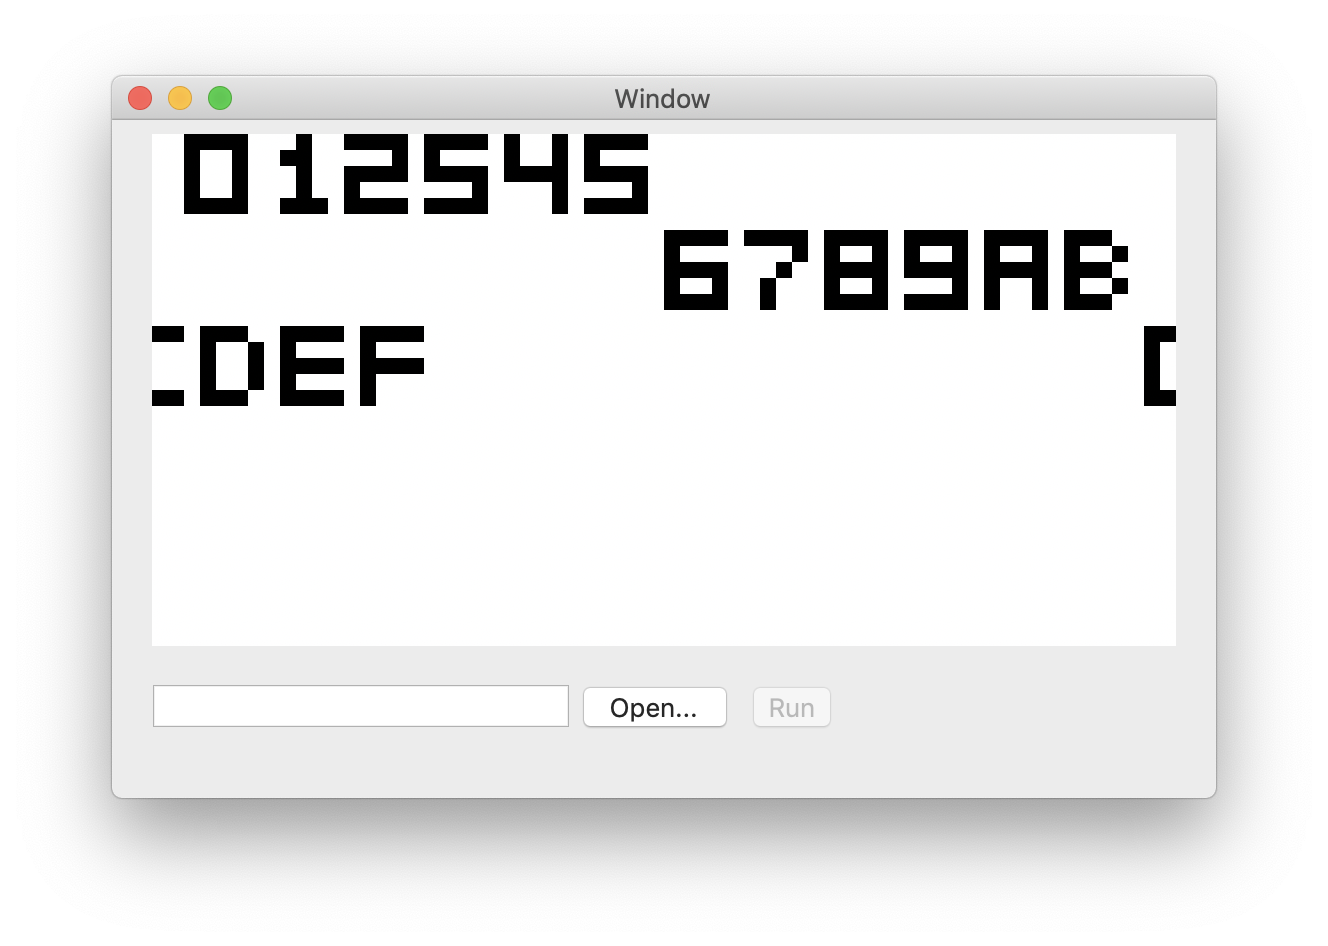
Adding a UI
Since I was writing a Mac app, it needed a UI. I was using a storyboard, so this is just a case of adding the buttons to my view - there is no CSS here - and writing a handler method. The handler method just copies the contents of the file into an array representing the RAM, and enables the run button.
Implementing the CPU
At this point it was time to start implementing the CPU. In theory this was a straightforward exercise - read an instruction from the CHIP-8 RAM array, decode it, and perform the operation, repeatedly. With the help of a test ROM I was able to track down some of the more subtle issues.
- Swift does not allow integer addition to overflow by default. For most programs, this is beneficial (unexpected overflow [like light] is not your friend), but something to be aware of when writing an emulator. There is a separate method (
addingReportingOverflow) for that. On the plus side, the method returns a boolean when overflow occurs in the addition, so overflow detection becomes easier. - Certain functions (notably collision when drawing and carries) set the VF register to 1. This needs to be unset if a carry or collision did not occur.
- Not paying sufficient attention and reading register addresses as values.
- Incrementing the program counter after a jump operation.
- The timer register is supposed to decrement at 60Hz. My initial implementation did not allow for the check being performed less frequently. In addition, the timer could underflow in some circumstances (which in Swift causes a crash).
In order to keep the UI responsive, the work was all done in a background thread, with drawing performed on the main thread. Each instruction was queued separately instead of using a loop.
Early optimisation
My initial drawing implementation would re-render the entire screen every time there was some drawing work to do, but the Cocoa drawing framework allowed me to do better.
The framework passes a dirtyRect parameter to the draw method. This defines the area of the view that needs to be redrawn. By marking individual CHIP-8 pixels as dirty, I was able to reduce the amount of work done on each render. I also tweaked the code to fill in the background for the dirty area, and then only paint the active pixels as necessary.
I also inverted the colour scheme to the traditional white on black.
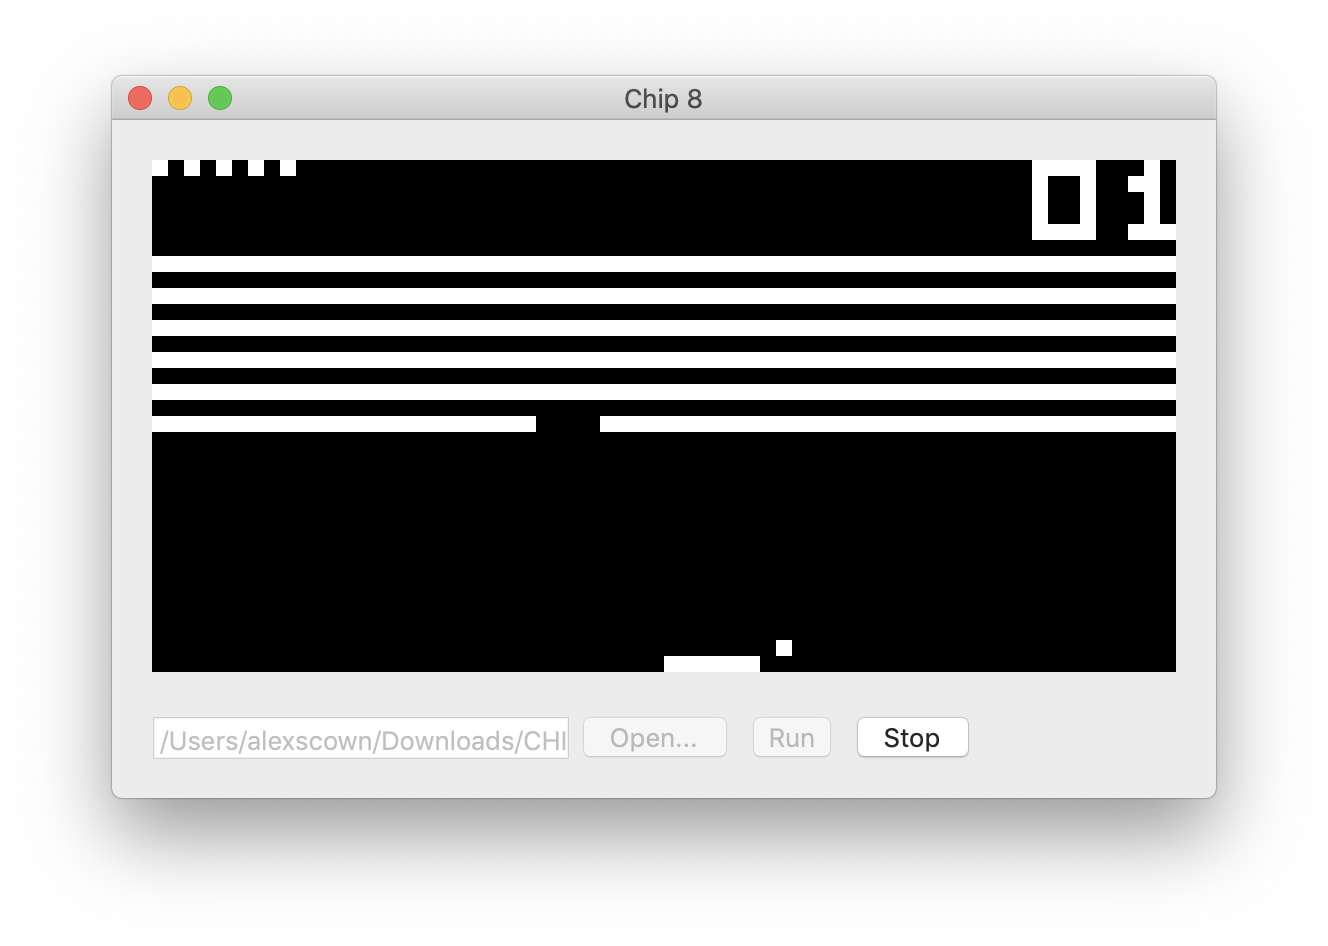
At this point, it was possible to run most programs.
Conclusion
I had written a working CHIP-8 emulator. At this point I decided to integrate a debugger, as finding bugs just using print statements was tedious. This will be covered in Part 2.